Last night I decided to take my old ugly Walmart curtain down, inspect it, and make my own. I didn't make one as frilly but the fabric print is enough to bring the window some life.
What's better than yellow lemons for the kitchen?! Alexander Henry's Lemon print was perfect!
Click Here to see the tutorial & finished curtain!
So I bought a 1.5 yard for this project...thinking "that will be plenty for this small window". When I got home and opened my bag...I realized that the print was going the wrong direction of the fabric grain that I needed! It was going from selvage to selvage and not continuous though yardage! Oh No! I didn't want to piece it and have a seam down the middle of my curtain..so I made do with a small curtain and less pleating. Oh well! No biggie, it's still cute!
Here's would you do for a small kitchen window like mine...
You're going to need about 1.5- 2 yards yards of fabric OR you can measure your window and double it. Keep in mind the direction of any directional prints you choose.
The seams change a lot in this tutorial so pay attention. It's mostly common sense though
To avoid any confusion with terminology
Width= Top to bottom of curtain
Length= Side to side of curtain
Cut your fabric 22" width x desired length of curtain . It's your choice, depends on how much pleating you want. The longer the length of the curtain the more frilly pleating.
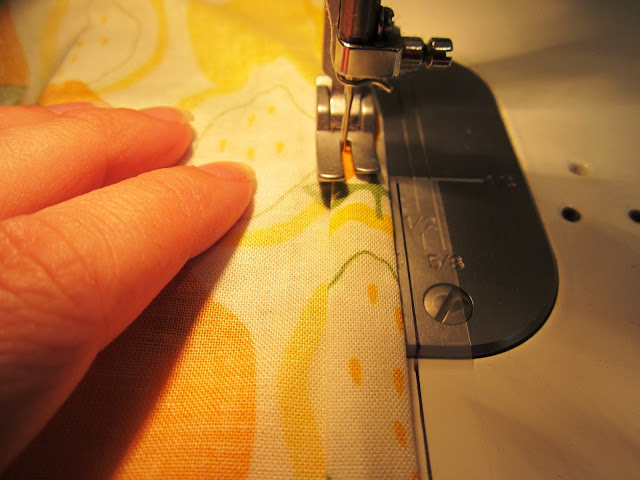
Now take your fabric to your ironing board and iron a 1/4" seam on 22" width of fabric and fold over to another 1/4" seam. This will give your curtain a nice clean seam. Sew the seam with about a 1/8" inch seam on the edge folded IN toward the fabric.
Time the iron the seams for the length sides of the fabric. These will be the top & bottom of your curtain.
The side that will be the bottom of the curtain:
Fold and iron 1/4" seam the first time and a 1" seam when folded the second time. Sew 1/8" seam like we just did for the width sides.
For the side that will be the top:
Fold the first seam 1/2" and fold it again 3 inches. This will allow us the sew an area for the tension rod.
Sew the seams down. For the top with the 3" seam you can use a standard 1/4" seam because we folded it 1/2" the first time when ironing.
Now sew another line about 1.5" from the first seam on the 3" top part. This will create an opening for our tension rod
Now pull your tension rod through the opening we made and you're done!
Don't mind my boring white walls & cabinets. We're moving soon and painting some color is a top priority!
After looking at the curtain, I might cut it the width of the window so it's flat with no pleating. It's have a clean flush look. Never been a fan of the frilly stuff.
Happy Quilting!


No comments:
Post a Comment
I reply to every single comment. If you don't get a response from me...you are a no-reply blogger. Check your blogger settings to show your email so you can get replies & notification of giveaway winnings! Leave your email if you're unsure!