Today I'll be showing you how to make hexagons!
Here is a little sneak peak at my hexie stash. I just use scraps of all quilting projects and do a little at a time.
I know, I know...it's a lot of work to make one of these quilts..but it's so worth it! I'll be demonstrating how to make a flower. Whether you continue to make more hexagons into a pillow or quilt is up to you! I'll be using some of my scraps for this project. Since I just organized them by color, it was easy to decide what to do for the flower- a rainbow!
Click Here for the full tutorial!
Here we go!!!
So..you need to either buy or print and cut hexagon shapes in the size you want. I believe I chose 1 inch hexies. I actually spent the time (because I had the time) to just print and cut them out as I went along. I was able to print them out from TexaFreckles.com
Grab the fabrics you want. I chose rainbow colors from my scraps.
Iron each piece out. You will want each piece to be at least a 2.5"x2.5" square. If you want to be a "little miss perfect" feel free to cut each piece into a 2.5" x 2.5" square. I don't really care to. Arrange your pieces the way that you want them.
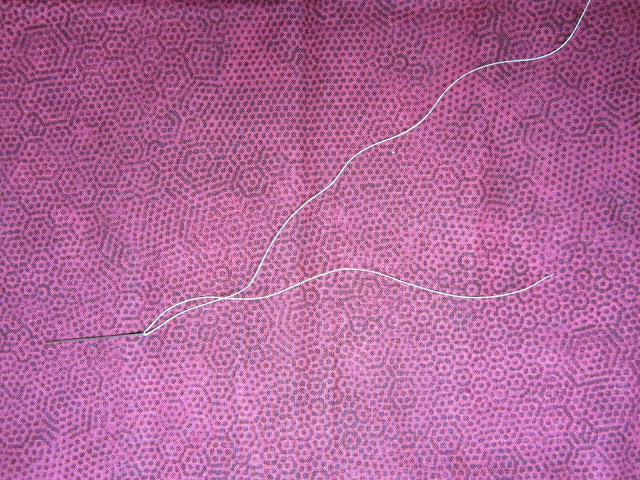
Grab a needle and thread it. You want to knot the thread on ONE end and pull it though leaving about 6 inches on the other end
Place one of you paper hexies on the WRONG side of your fabric piece. The paper will stay inside the hexagon until you're ready to sew the hexagons together
Fold one side of the fabric over the paper hexie and crease the fabric with your finger
Now, holding that seam in place, fold the fabric over the next edge of the paper hexie, overlapping the first seam.
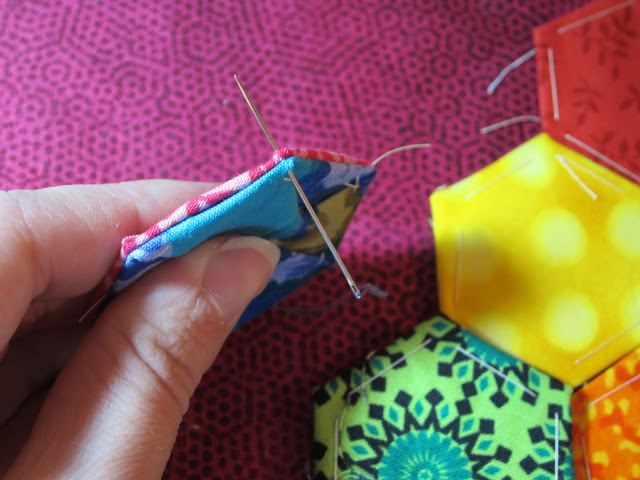
Grab your needle and thread it through the first seam
Now thread it through the other seam. This will prevent the seams from falling apart and keep the fabric in the hexie shape
Pull it all the way through, the knot will stop your thread from coming out
Now fold down the fabric on the next paper hexie edge and repeat with threading
Continue doing this until you complete all sides. When you get the last fabric seam, re-thread over the first seam again. This will complete the hexie
This is what the front will look like
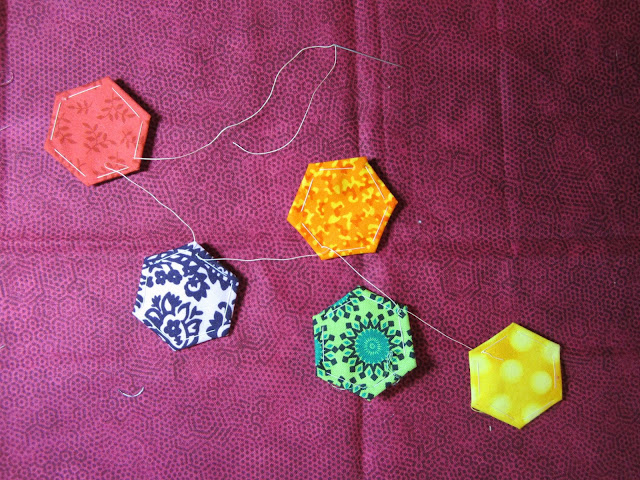
To continue making more hexie's, just repeat the process but leave about 2 inches of thread between each hexie
I was able to get 5 hexie's on the strand of thread I had on my needle...2 more hexie's to go! Trim thread between each hexie and you're all ready to go
Here are all my completed hexagons. Now we need to put them together...
You really want to use a thread that will blend in but I just grabbed a rainbow thread.
Grab 2 hexagons, right sides together, and thread your needle through. Be careful not to grab the paper
There are several stitches you can use but I like to use a whipstitch
Here are the first 2 hexie's stiched up. continue to stitch up the hexagons by hand
Here is what the back looks like so far. Now, if you trimmed your fabric to 2.5"x2.5" squares, your seams will all be 1/4"around. Mine were not so I can either leave it the way it is or trim them up. If I were going to continue with a quilt or pillow then I would just leave it. BUT I'm going to applique this flow and I need to fuse the fabric under the paper hexie not seams...other wise the fabric will puff up
Here is the completed flower...soo pretty!
You can pull your paper hexies out from the back now & remove thread
I chose to applique this little flower onto a 12"x12" gray fabric for a little placemat for a little table I have. I cut the shape of the flower and ironed on fusible web...notice my seams at 1/4" now? I just did a cut them by hand and not perfectly...just enough to grab the fabric for fusing
I peeled off the paper backing and ironed it on my fabric square. I just used another gray square for the backing and Warm & Natural batting scraps I had.
I used the same thread and sewed the flower edges down & quilted around the flower shape. I know it's not perfect...but it doesn't bother me. Time to bind it
Here is my completed table mat or little wall hanging
I stitched a little fabric tag on the back bottom corner and we're all set!
A perfect fit!
I also need some better lighting! It's so dark in my place ( I hate it!) This picture was taken during the day!!!
Until next time...Happy Quilting!


I love hexi quilts! Very cute! And so perfect for your little table.
ReplyDeleteThank you Brittany! You're so sweet!
DeleteA sweet quilt, I love everything hexagon.
ReplyDeleteThanks Gals! I love little quilts now. They're so much & easy to whip up!
ReplyDeleteThis is just adorable, I love the thread you used too! And have pinned your mini table quilt on Pinterest, is this okay!
ReplyDelete