

To mark this special day, I have a little project & tutorial for you! On one of my previous posts, I mentioned some basic Notions you need to get started. One of the items mentioned was a Pincushion, so that's what we're going to make today! This will be so much fun :)

In addition to having the basic Notions such as a Sewing Machine, Scissors, Ruler & Cutting Mat- you will need...

- A handful of scraps - everything will be cut 3/4" x length of fabric scrap.
- A backing material- I used the striped canvas material shown. My sister uses felt & my mom always uses thick velvet material but you can use whatever you want really.
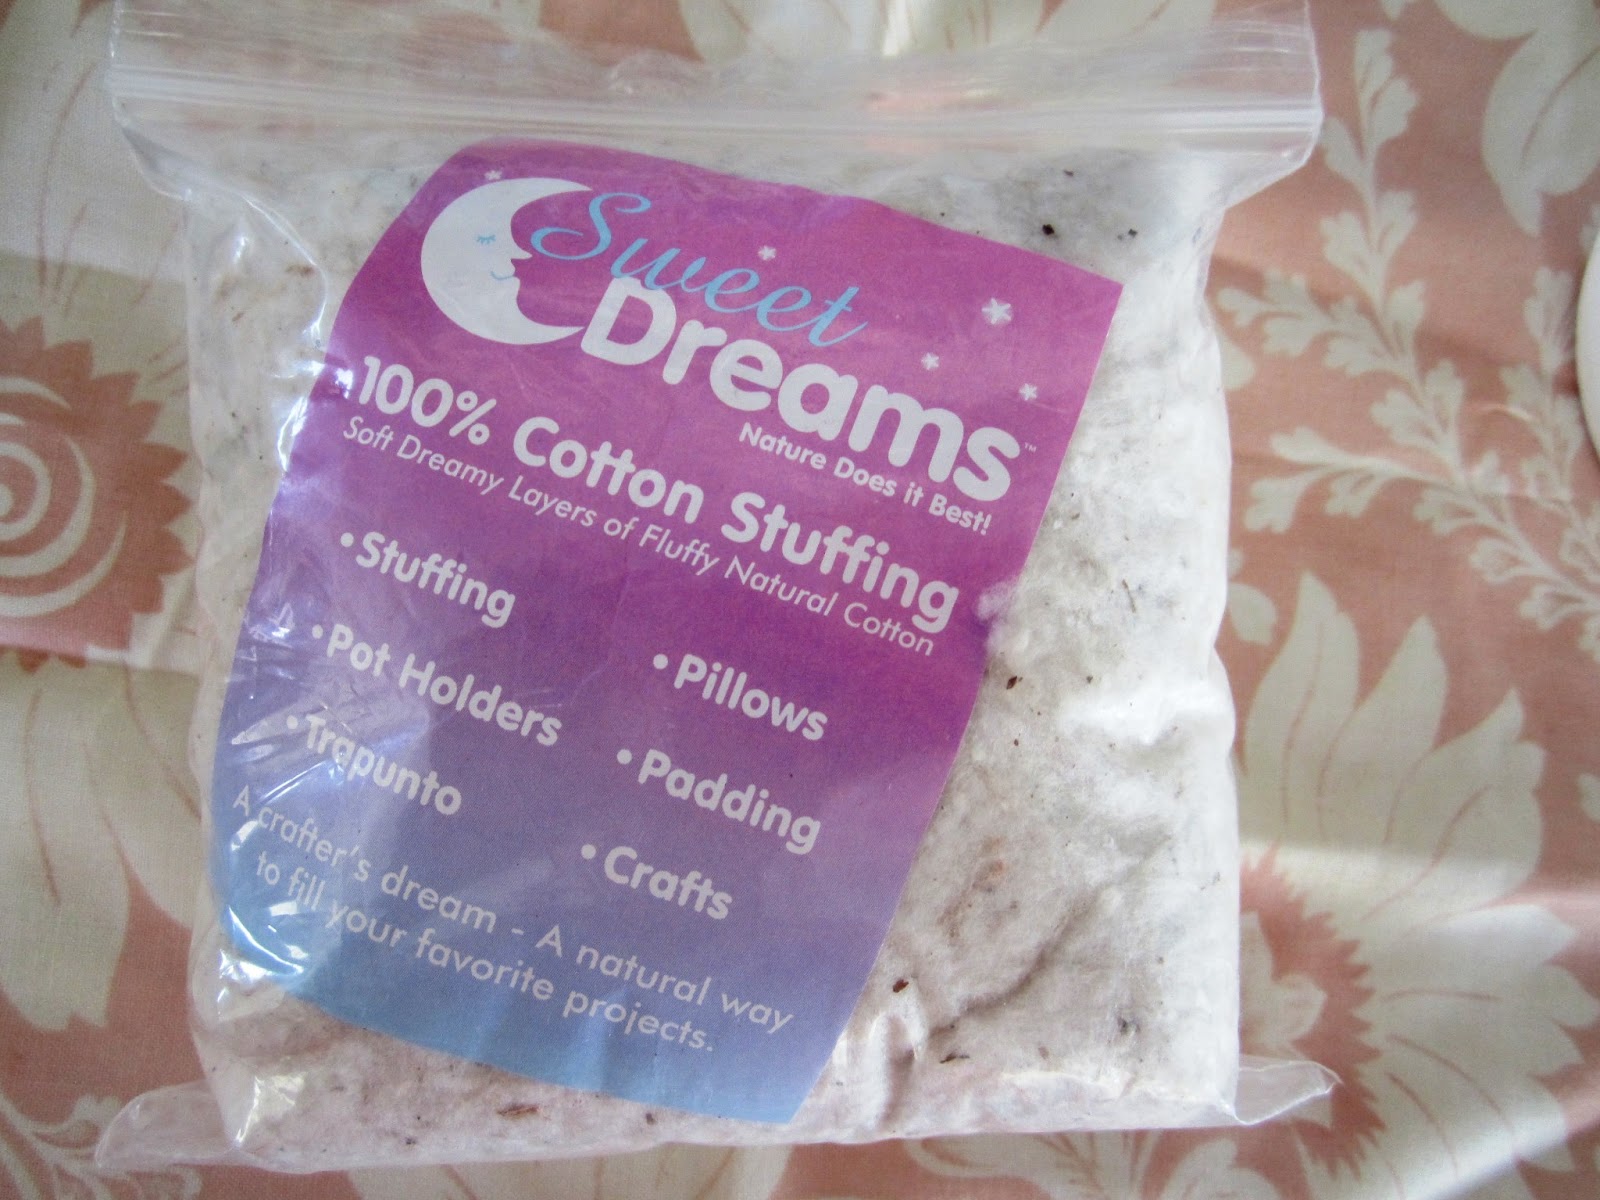
- Crushed walnuts (at any pet store in the bird section around $6-7) OR cotton stuffing
- A Hand Quilting needle & thread
This pincushion is sewn with a 1/4" seam (as usual, hence the blog name) unless otherwise noted.
You will want to change your stitch length for this project to about 1.5 instead of the standard 2.5.
To get started, I like to lay out my fabric to see all my colors and what order I want them to go in.

Next, you need to iron every little piece you plan to use.

For the center square, you will want to cut a teeny tiny little 3/4" x 3/4" square from your smallest fabric. Make sure you measure & cut precisely so it doesn't turn out wonky.

You will then grab your next fabric of choice (3/4" x length of scrap) & line up your tiny square with it, right sides together.


You will then sew the square to the strip and cut it off the remainder of the strip. Iron it open EVERY time, do NOT skip this part, ever! Line it up again and do the same thing like shown...


Sew it together and cut off remainder...


One more time to complete you first log cabin layer. Line up your square with the strip, sew it, then cut it.


If it looks like this then you're doing it right! Good Job! That square is really teeny tiny now!


Repeat this process until you finish another layer like shown...

When you do about 7-8 layers, it will look this this and the top of your pincushion is done! So cute :)

You will need to measure your square now. If it's not a perfect square, trim it up and make it exact square. Mine turned out to be a perfect 3 7/8"x 3 7/8" square. You will want your backing material to be the EXACT same size, so take the size of your square and cut your backing material to match :)

Sew around both pieces right sides together leaving a 1 1/2" opening and trim the corners off. Be careful not to trim too much. This will help when we flip it right side out so the corners aren't all jacked up looking.

Your corners will probably look like this. You will need to push them out with a pencil or something of that nature if your don't have a point turner.

This is what you should have now...

Next, we need to fill it up. There are a few different types of filling you can use. Some people just use cotton stuff like this...
...but I like to use crushed walnuts. It gives the pincushion some weight and feels kind of like a sand bag almost. It looks like this...

Time to fill her up!

Now it's time to sew this baby shut. I used a whip stitch.

Voila! You just completed a project! Yay! Hope you had fun!
These other pincushions are the Schnibbles Tuffets pattern from Miss Rosie's Quilt Co.
These other pincushions are the Schnibbles Tuffets pattern from Miss Rosie's Quilt Co.

Until next time,
Happy Quilting!

Great tutorial. Now for a goofy question, where did you get crushed walnut shells?
ReplyDelete