Hosting the Triple-Zip Pouch Swap has led me to this post. I had a few swappers state they wanted to add a strap but didn't know how. So here we go!
What you need:
- 13" x 2.5" fabric for Wrist Strap
- 4" x 2.5" fabric to secure strap to pouch
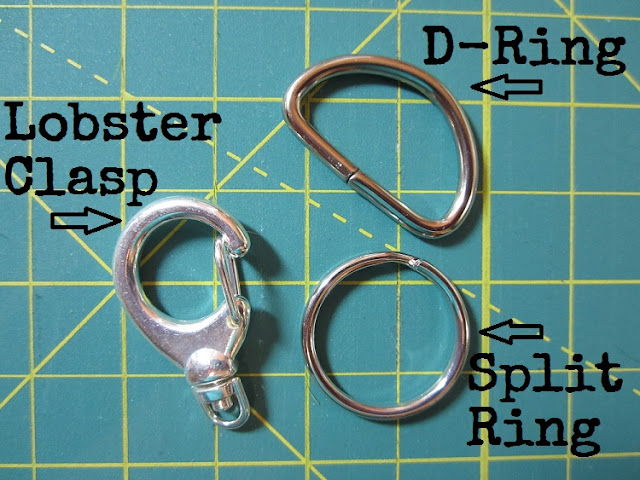
- Clasp Closure ( I like Lobster Clasps, Available at Michael's)
- Split Rings (Available at Michael's)
- D-strings (Available at Joann's)
- (optional) Small Jump Rings (tiny split rings for the lobster clasp to attach to a D-Ring instead of a Split ring)
Step 1: Grab your 4" x 2.5" fabric piece and fold and press a 1/4" or 1/2" seam. This depends on how wide you want your strap secure piece. My folded seam was about 3/8" or so.
Step: Fold it in half and press.
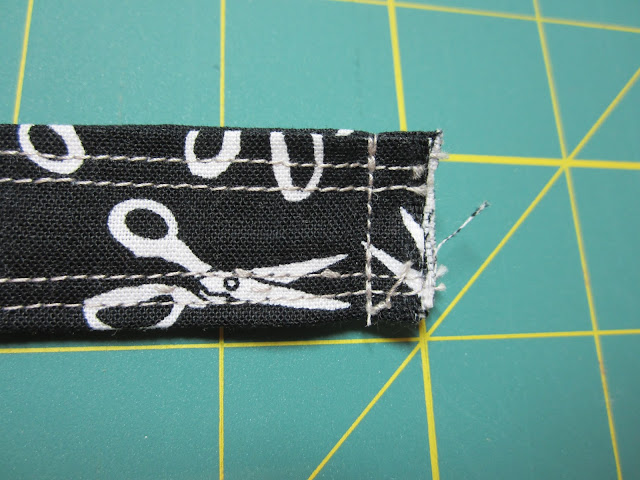
Step 3: Top stitch the edges. I stitched mine twice but once is good enough.
Step 4: Pull your D-Ring through the strap piece to the middle, fold the piece in half and stitch a line about 1/2" from the folded middle part to keep the D-Ring secure.
Step 5: Repeat the steps 1-3 for the long strap piece.
Here's what you should have:
Step 6: Now attach the Lobster Clasp to the split ring.
Step 7: Pull the clasp through the long strap.
Step 8: Stitch the ends together.
Step 9: Turn the strap inside out so the seam is on the inside.
Step 10: Flatten the strap and stitch the seam down. Make sure the clasp is placed at the end to secure it. Now we need attach it to your pouch :)
Step 11: Attach secure piece before closing up the side seams of the pouch.
If you want the secure piece short, sew the D-Ring closer to the edge and snip off the fabric excess.
Clasp on your wristlet strap and you're good to go!


Thank you for this great tutorial!
ReplyDeleteEsther
esthersipatchandquilt at yahoo dot com
ipatchandquilt dot wordpress dot com
Great tutorial and I love your pouch, great colors and the little scissors are so cute.
ReplyDeleteThank you Stephanie :)
ReplyDeletegreat! I like the strap.
ReplyDeleteis there a tutorial for the wristlet pouch? I love how the zipper pull is that 1/4" BEFORE the end of the pouch. Would love to have the 'end' of the zipper start 1/4" in from the side seam as well. I don't like how so many end sort of swallowed up into an unsquare top corner.
ReplyDeleteKate
Haste truly does make waste! I just found the tutorial for the POUCH. Here's the link, and it does show that the top zipper ends 1/4 or so IN FROM THE END, YIPPEE!!!!!!!
ReplyDeletehttp://aquilterstable.blogspot.com/2012/08/triple-zip-pouch-tutorial.html
KATE